It is important to position the infrared heater correctly so that it can achieve its full effect. Here we show you which installation options there are for infrared heating and how you can position the heating to suit your needs in order to achieve the optimum heating effect. Because installing and fitting your new heating system is quick, easy and safe. Guaranteed.
What heating models are available?
You can use an infrared heater flexibly. The mounting models can be divided into three groups:
- Wall mounting
- Ceiling mounting
- Parking heater
But which heater is suitable for ceiling mounting and which for wall mounting? Are there any differences between infrared heaters? And where should a heater be placed so that it guarantees optimum heat distribution in the room?
You can find answers to these and other questions in this blog post. Let’s get started!
Where do I place my heating?
Basically, in large rooms in particular, it makes sense to install several small heating panels instead of a single high wattage panel to ensure even heat development.
The optimum distance between the infrared heater and the area to be heated is a maximum of 2.5 meters. Regardless of whether you mount the heater on the ceiling or the wall: the further away the heat rays are, the less noticeable the warming effect will be.
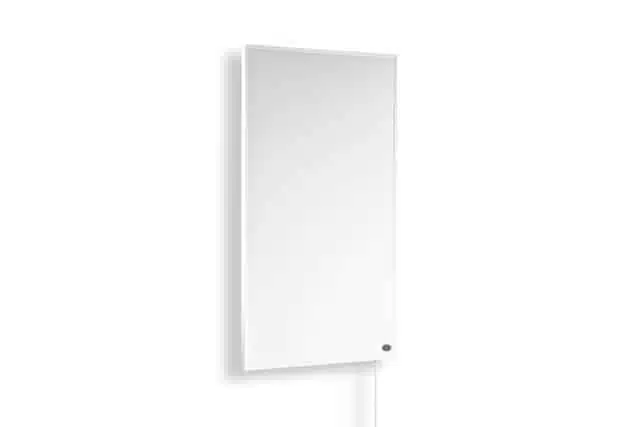
Wall mounting
Wall heaters are particularly popular infrared heaters. Thanks to their simple and space-saving design, the heaters can be mounted on the wall like a large picture using the drilling template provided. Four drill holes are usually sufficient. When installing, it is important to note that infrared heaters should not be installed opposite a window. Glass does not store heat, so the infrared rays do not have much effect in this case and cannot develop their full effect.
We recommend that you do not place your heater behind cupboards or seating furniture, otherwise the heater cannot emit its heat into the room unhindered. The advantages of an infrared heater are that it heats objects, walls, ceilings, floors and people evenly and these pass the heat on to the room air. The outer walls in particular are usually the coldest areas in the room and create an uncomfortable feeling of cold. With classic radiators, on the other hand, it is primarily the room air that is heated. If this rises, cold air flows in and creates air circulation, which is often perceived as unpleasant.

Our tip: You should install your heater at body height, but at least at knee height. Also bear in mind that the radiation angle of your infrared heater is 120°C, so you can maintain the ideal distance with several heaters.
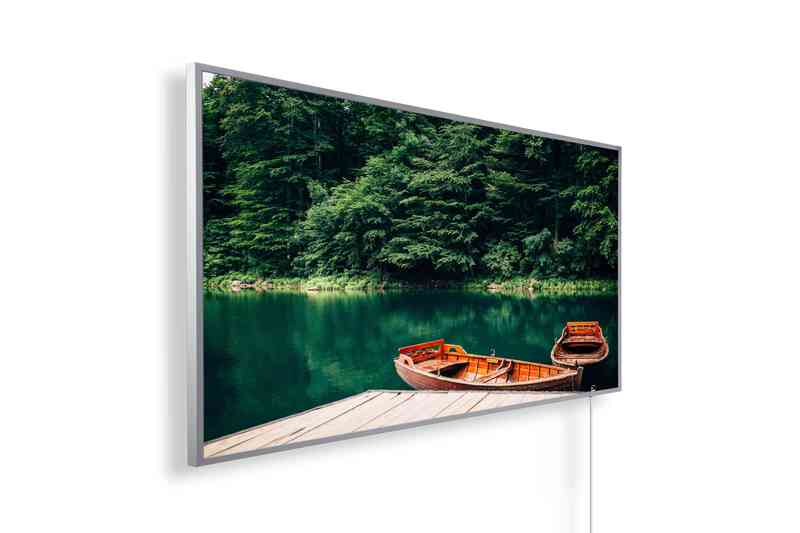
With a few exceptions, most heating models are suitable for wall mounting. Our Plano P series, which can be integrated into any room thanks to its unobtrusive design, is particularly popular. Or do you prefer it colorful? Then have your personal photo motif printed on the heater. But that’s not all, of course. There are mirror heaters for the bathroom that not only keep you warm, but also prevent the mirror from fogging up in damp rooms. Super practical! Find out more here.
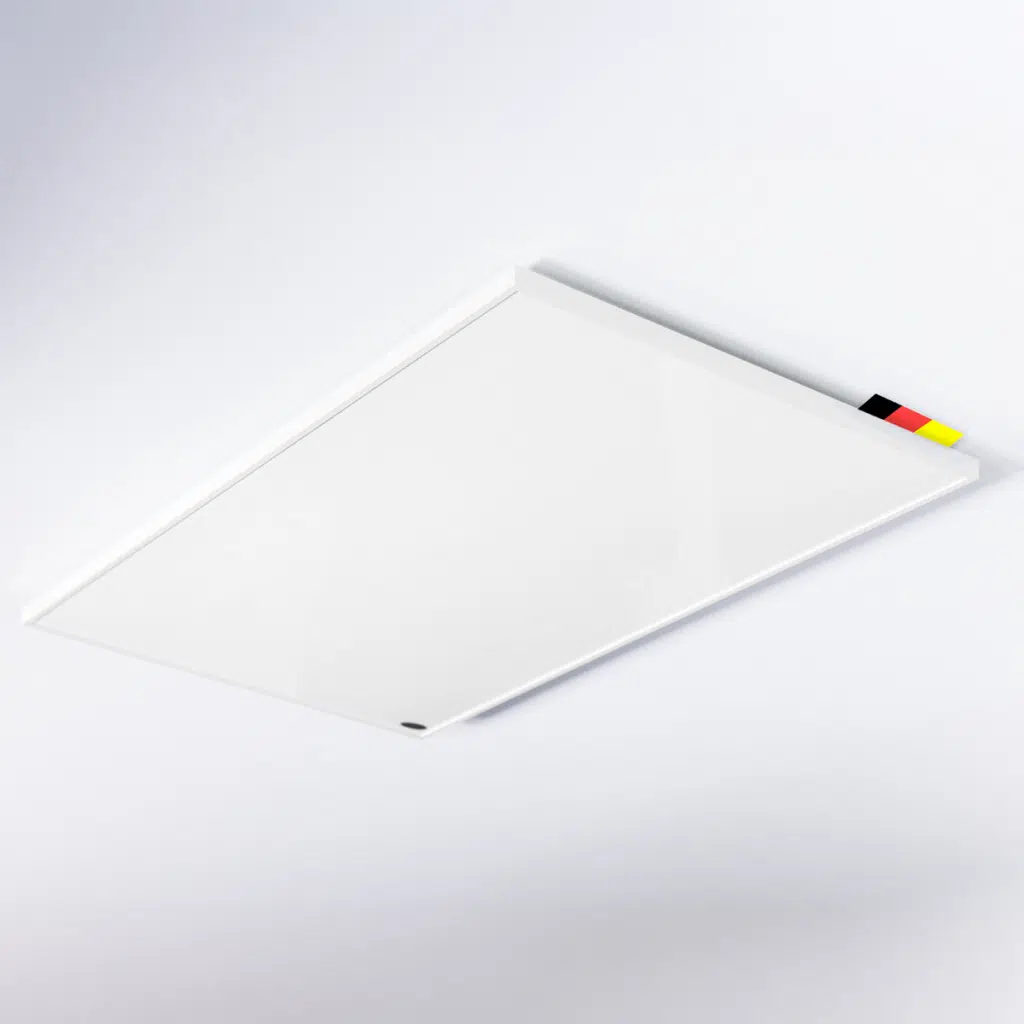
Ceiling heating
Are you asking yourself: can I also hang my heater from the ceiling? Of course you can!
With one small restriction: not every heater is suitable for ceiling installation. This is because ceiling heaters have two special fixing elements that also act as spacers. This allows air to flow between the ceiling and the heater. Another difference to wall heating: the rear wall of the ceiling heating is made of thermally conductive aluminum.
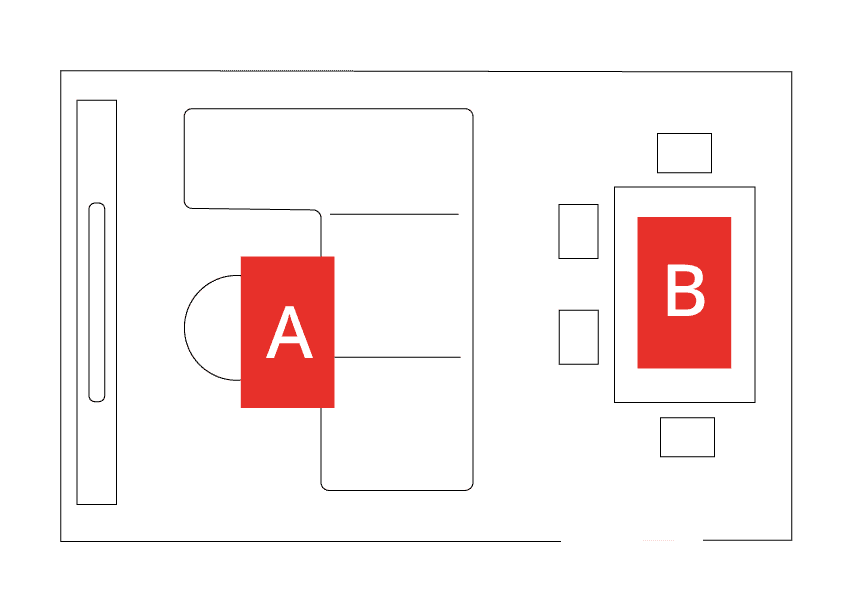
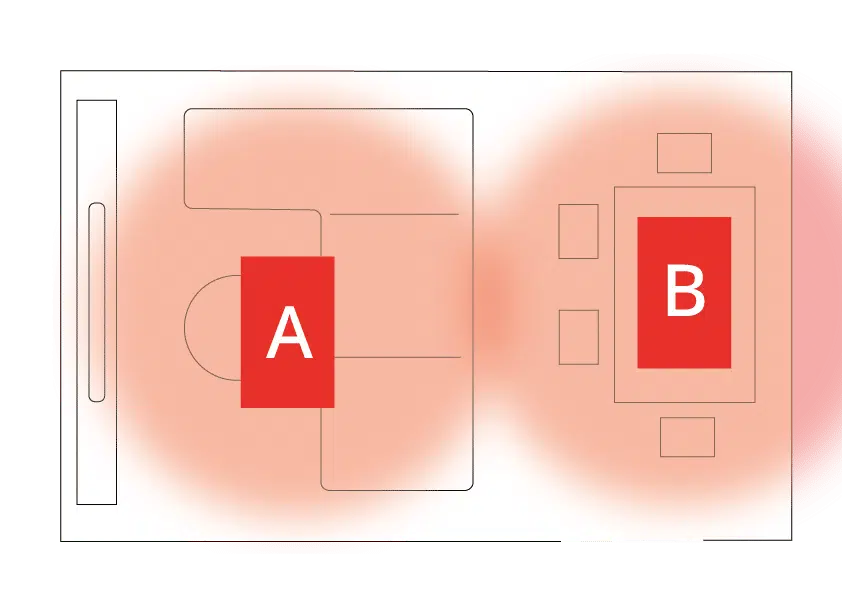
Here you can see how an infrared heater can be optimally positioned using the example of a living room.
But what are the advantages of ceiling heating?
- Space saving in small rooms
- A ceiling heater warms from head to toe
- Hardly noticeable thanks to its flat design
- Ceiling heating is a safe option, especially with small children, as the heating is out of their reach thanks to the ceiling installation
- Uniform heat radiation in the room
What needs to be considered when placing a ceiling heating system?
A ceiling heater is ideal for positioning above the sofa or dining table, for example. In this case, the radiation is not aimed directly at people, but heats the table, which in turn transfers the heat to the room air. The heat coming from above from a ceiling heating system also heats the floor evenly, similar to the effect of underfloor heating. This works best with natural stone tiles, parquet and floorboards.
And best of all: with a flush-mounted connection, you can install the infrared heating without visible cables. You control the temperature using a thermostat.
If you would like to know more about how infrared heaters work, take a look at this blog post.
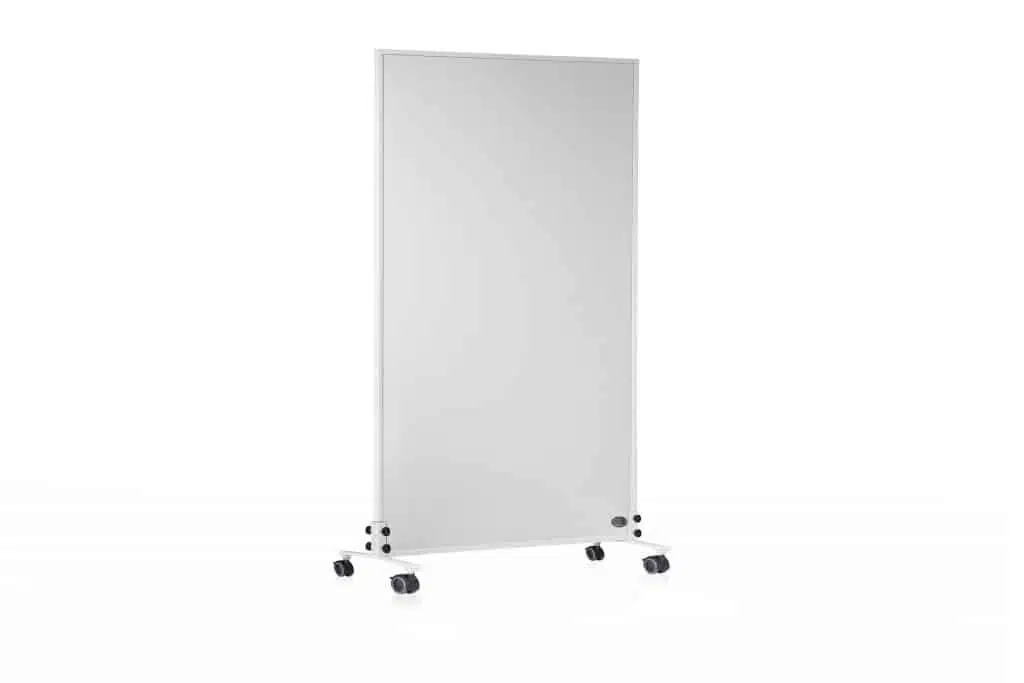
Floor/roller heating
The simplest of all three variants. You can use any heater as a parking heater. There are various models of pedestal and castor feet that are mounted on the heater. This gives you maximum flexibility and allows you to set up your heater wherever you want it to be warm. You can find more information about accessories here.
Is there anything else to consider?
A good question. After all, the more closely you examine the conditions of your premises, the better you can use the infrared heaters.
Answers to the following questions will help you to achieve the optimum result for you:
- Auxiliary or main heating: do you want to use your heating system as an additional heat source, or should it replace the existing heating system?
- Room size: how big is your room? Measure the room in which your new heating system is to be installed.
- Ceiling height: How high is the ceiling? The ceiling height is particularly important for ceiling heating systems.
- Insulation: What material are the walls made of? Glass or PVC, for example, store heat worse than wood or stone.
- Special requirements: Are there any special challenges, such as a cellar, damp rooms or perhaps a conservatory with lots of windows?
Our requirements calculator can provide you with additional assistance in deciding on the right infrared heater. Have a look.
Conclusion
Whether you opt for the wall, ceiling or mobile heating variant depends entirely on your needs and the room. Take a look at what exactly you need – the questions under “Is there anything else to consider” will help you. Remember: you can also combine the different heating variants wonderfully!
Want to know more?
We are delighted if we have been able to show you new aspects of infrared heating. There is a lot more exciting information to discover. For example, would you like to know more about the effects and consequences of lignite mining? Or are you interested in exciting tips and tricks for your home office? Then simply visit our blog regularly – it’s worth it! If you have any further questions, our friendly customer service team will be happy to help you – by phone, email or chat. We look forward to hearing from you.


